1、浏览分类
\n
a. 修改Contoller的为如下
using System;
\nusing System.Collections.Generic;
\nusing System.Linq;
\nusing System.Web;
\nusing System.Web.Mvc;
\nusing BookShop.Models; //import model
\nnamespace BookShop.Controllers
\n{
\npublic class CategoryController : Controller
\n{
\nBookShopDBDataContext db = new BookShopDBDataContext();
\n//  Category/List
\npublic void List()
\n{
\nList<Category> categories = db.GetAllCategory();
\nRenderView(“CategoryList”, categories);
\n}
\n// Category/Edit/id
\npublic void Edit(int id)
\n{
\n}
\n//Category/Delete/id
\npublic void Delete(int id)
\n{
\n}
\n//Category/Add
\npublic void Add()
\n{
\n}
\n}
\n}
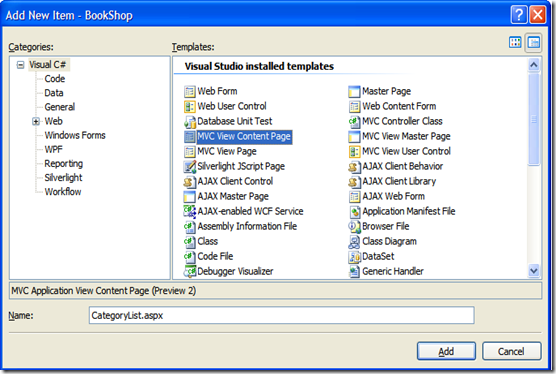
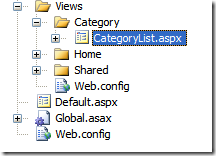
b.在view文件下建立一个对应的Category的文件夹,在其下建立一个(MVC view content page) CategoryList.aspx
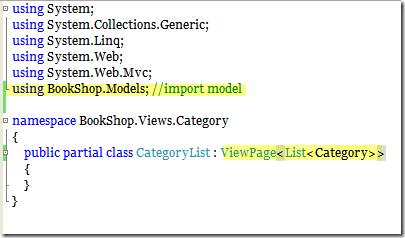
c. 修改CategoryList.aspx.cs为如下代码:
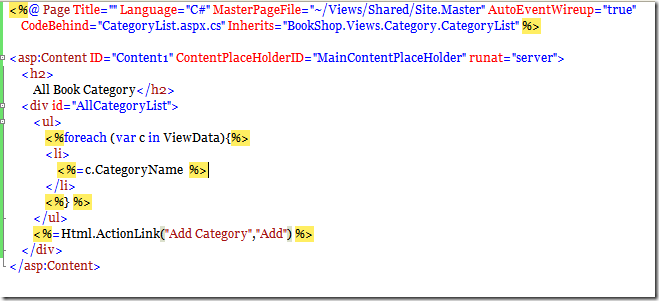
d. 修改Category.aspx的视图
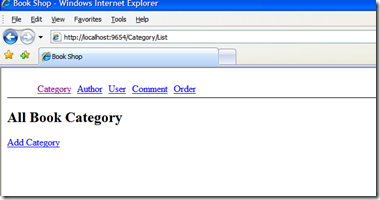
e. 浏览(因为数据库里没有数据,所以看到如下图)
2、添加目录
a. 现在我们来实现新建的功能,修改CategoryController的Add的行为,新建一个AddSaved的行为保存新建的目录,并导航到List视图
\n
\n
//Category/Add
public void Add()
{
RenderView(“AddCategory”);
}
public void AddSaved()
{
Category newCategory = new Category { CategoryName = Request.Form["CategoryName"] };
db.AddCategory(newCategory);
RedirectToAction(new RouteValueDictionary(new { controller = “Category”, action = “List” }));
} \n
public void Add()
{
RenderView(“AddCategory”);
}
public void AddSaved()
{
Category newCategory = new Category { CategoryName = Request.Form["CategoryName"] };
db.AddCategory(newCategory);
RedirectToAction(new RouteValueDictionary(new { controller = “Category”, action = “List” }));
} \n